How to Count Calories From a Photo Accurately
How to count calories from a photo: what the AI reads, how accurate the estimate is, and five habits that make your numbers far more reliable.
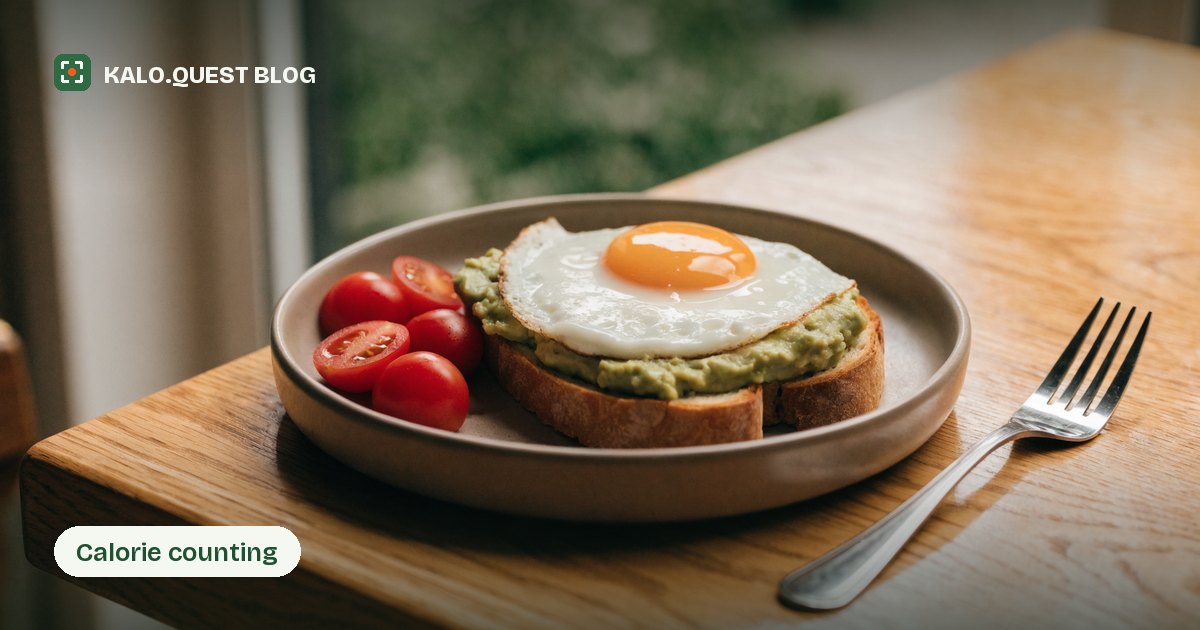
An app can count calories from a photo of your plate, and for most people the result is close enough to steer weight change over months. It is an estimate, not a measurement, and no honest app calls it anything else. This guide explains what the software actually reads in the image, how large the error usually is, which plates defeat it, and the five shooting habits that shrink the error most.
The numbers below come from peer-reviewed comparisons of image-based dietary assessment, not from marketing claims. Where Kalo.Quest is mentioned, it is to describe how one app implements the method.
What actually happens when an app counts calories from a photo?
A photo calorie counter runs three steps in a row, in seconds. It recognizes the foods, it estimates the weight of each portion in grams, and it converts those grams into calories, protein, carbohydrates and fat using a food composition table.
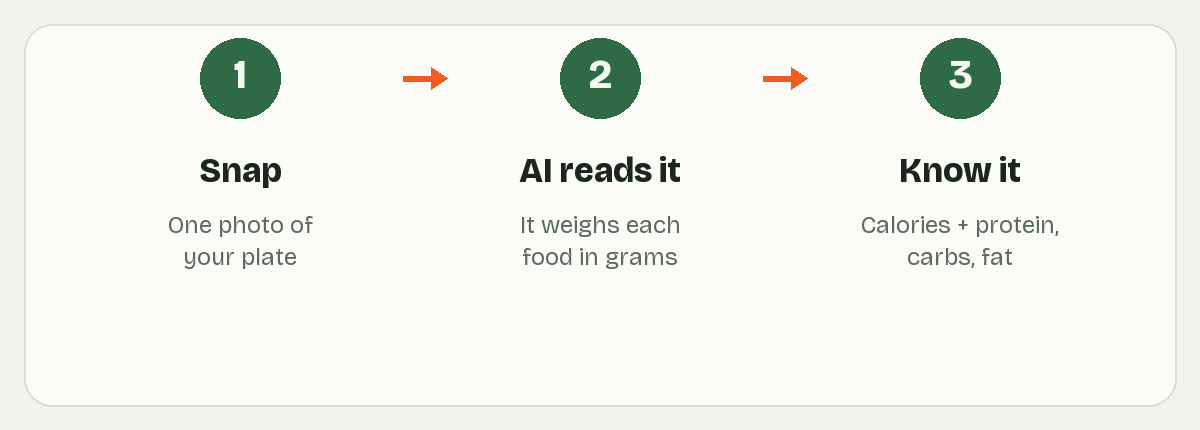
- Recognition. The image is analyzed and each item is named: the toast, the eggs, the avocado, the drizzle of oil.
- Portion weight in grams. This is the hard step. The model reasons about the weight of each food from visual cues: the diameter of the plate, the fork beside it, how high the food is piled. Kalo.Quest estimates each portion’s weight first, then prices it.
- Conversion. Once the model has settled on “roughly 60 g of avocado, one large egg, one slice of bread,” the rest is arithmetic against a reference table. The USDA’s FoodData Central is the public version of such a table, and it lists olive oil at 884 calories per 100 g.
Step two decides the answer. Recognizing that a bowl holds rice is easy. Deciding whether it holds 120 g or 250 g of rice is a swing of about 170 calories, at the 130 calories per 100 g that USDA FoodData Central lists for cooked white rice, and that is where a photo estimate is won or lost.
How accurate is a calorie estimate made from a photo?
A 2023 systematic review in Annals of Medicine by Shonkoff and colleagues, covering 52 studies published between 2010 and 2023, reported average relative errors between fully automated AI estimates and ground truth of 0.10% to 38.3% for calories. The same review concluded that AI methods align with, and have the potential to exceed, the accuracy of human estimation. It also refused to pool the numbers: the food image databases used and the results reported varied so much across the 52 papers that Shonkoff and colleagues judged a meta-analysis impossible, which is the honest caveat to attach to any single accuracy figure, including that one.
The human baseline is worse than most people assume. In a crowdsourcing study published in the Interactive Journal of Medical Research on November 5, 2018, Zhou and colleagues asked participants to judge the calories in 20 food images: the mean absolute error was 57.9%, or 136 calories per image, and the average participant placed only 5.15 of the 20 images within 20% of the true value. Nutrition experts scored about the same as everyone else.
The comparison that matters most is not photo against a kitchen scale. It is photo against not logging at all. In the New England Journal of Medicine of December 31, 1992, Lichtman and colleagues measured intake and expenditure in subjects who reported being unable to lose weight: that group underreported its food intake by 47% on average and overreported its physical activity by 51%. An estimate carrying a 20% or 30% error that you record every day is a far smaller problem than a 47% gap you never see.
Which meals does photo calorie counting get wrong?
Mixed dishes and liquids. Photo methods fail wherever calories are dissolved rather than visible, and they fail on quantity more than on identity.
In a comparison study published in JMIR Formative Research on December 7, 2020, Van Asbroeck and Matthys pushed 185 standardized food photographs through seven commercial image recognition platforms. Top-1 accuracy ranged from 63% for one platform down to 9% for another, and none of the seven could estimate the amount of food at all. Recognition and portion sizing are two different problems, and the second is the one that carries the calories.
The plates that give the most trouble:
- Blended and layered dishes. A curry, a casserole, a stew, a smoothie. Cream, butter and oil are inside the mixture and invisible from above.
- Sauces, dressings and cooking fat. High calorie density, almost no visual volume.
- Drinks. Juice, soda and alcohol are frequently left out of the frame altogether.
- Restaurant plates, where you did not choose the fat in the pan. That case has its own rules in our guide to counting calories at a restaurant.
How do you take a photo that produces a better calorie estimate?
Five habits close most of the gap, and together they cost about ten seconds per meal.
- Shoot from a 30 to 45 degree angle, not straight down. A top-down frame flattens the food and hides height, and height is one of the strongest cues to weight.
- Leave a size reference in the frame. A fork, a spoon, a hand. A bowl photographed alone could be espresso-cup small or mixing-bowl large. This helps the model, not you: in the same 2018 crowdsourcing study, Zhou and colleagues found that human estimates got slightly worse when a credit card was placed in the shot, because people scale food from what they already know a portion looks like.
- Separate what you can. Nudge items apart so nothing important sits behind the rice. Every hidden food is a food the model cannot weigh.
- Account for the fat you cannot see. Kalo.Quest gives you three ways to do it: a text path where you describe the meal in words and adjust portions right after, a portion adjustment on the estimate the photo returns, and the option to add a missing food before the entry is saved. The reason it matters: one tablespoon of olive oil weighs 13.5 g, and at the 884 calories per 100 g listed in USDA FoodData Central that is about 119 calories with essentially no volume on the plate.
- Sanity-check the result. A light salad returning 900 calories or a loaded burrito returning 250 is an outlier, not a verdict. Two seconds of judgment catches almost all of them.
Photo, barcode or manual entry: which logging method should you use?
Each method has a natural home, and most people end up using all three.
| Method | Best for | The catch |
|---|---|---|
| Photo | Home cooking and restaurant plates, anything without a label | Estimates portions and hidden fat |
| Barcode | Packaged food eaten as sold | Useless for a plate of cooked food |
| Manual entry | Recipes you make in known amounts | Slow, and database entries vary widely |
Kalo.Quest does only the first row of that table. It has no barcode scanner and no food database to search: the two ways in are a photo of the plate and a path where you say what is on it in words, and both end with the same portion adjustment. For anyone eating mostly unpackaged food, the ability to count calories from a photo covers the widest range of meals for the least effort, which is why it is worth learning to do well. If you want the protein, carbohydrate and fat numbers too rather than calories alone, tracking macros explains what to do with them. If you have not yet set a target for the day, start with your daily calorie number.
When should you not rely on a calorie count from a photo?
A photo estimate is not a laboratory measurement, not a medical device, and not medical advice. Do not count calories from a photo where a clinical prescription requires exact figures: renal diets and dialysis, type 1 diabetes where insulin is dosed on carbohydrate grams to the unit, or any situation where an allergen must be excluded with certainty. In those cases the number has to come from your care team, not from a camera.
This article is general information about a logging method. It does not replace a doctor, a registered dietitian or any other healthcare professional, and it does not cover how many calories you should be eating or how to divide them between macronutrients. Those questions have their own guides, linked above and from the Kalo.Quest home page.
Kalo.Quest is an app on Google Play and the App Store. It is free and ad supported, with an ad after each analysis, and it allows up to 30 photo analyses per day; an optional rewarded video adds one more. There is no account to create, and meal photos are sent for analysis but not kept.
FAQ
Does counting calories from a photo work without an internet connection?
No. The image has to be analyzed on a server, so the phone needs a connection at the moment you submit the photo. Everything else in Kalo.Quest works offline: the day’s log, the weight and activity history, the weekly and monthly averages, and the progress photos, which stay on the phone. Only the analysis step requires a network.
Can you photograph a packaged food instead of scanning its barcode?
Yes, and in Kalo.Quest it is the only option, because the app has no barcode scanner. Where a scanner is available it is the better route for food eaten as sold, since the printed serving states energy and macronutrients outright and removes the portion estimate, which is the step that carries most of the error. Read the label yourself when you have it. Photograph packaged food once it has been plated, mixed or partly eaten, because at that point the label no longer describes what is in front of you.
How many photo analyses does Kalo.Quest allow in one day?
Thirty per day, free of charge, with an ad shown after each analysis. An optional rewarded video adds one further analysis on top of the daily thirty. There is no paid tier and no account, so nothing beyond that limit can be purchased. For almost everyone, thirty analyses cover a full day of meals and snacks several times over.
This article is general information, not medical advice. For personal guidance, talk to a healthcare professional.